After years of trial and error, I’m now sharing with you my 5 essential tips for taking amazing flat lay photos.
I don’t know about you guys, but I have definitely spent many hours learning how to better my photography skills, especially when it comes to product photos. Flat lay images have always been a bit more challenging to me because you can’t rely on the beautiful sunset or ocean to speak for itself. You want your flat lay image to tell a story. It needs a vibe.
Below are my 5 essential tips for flat lay photos and how to compose them.
1. Lighting is EVERYTHING.
This goes for all photos and video and life. Lighting is absolutely crucial for photography. You should either go for a natural light (in the morning or evening when the sun isn’t so harsh) for a softer vibe, or use flash indoors, for a more crisp, clean photo.

I took this photo in my bedroom during golden hour. Pictured are my favorite perfumes, beauty products, flowers, Chanel book, and A.M. Club framed scarf.
2. The items need to tell a story.
The items in the flat lay should tell a story or describe a vibe you want to capture and share. Make sure each item is in line with the overall theme. Some examples are beauty products, travel stories, jewelry detail shots, outfits, food, coffee, ‘a day in the life’, polaroids, and of course – wine nights. Some items that always add that extra touch to flat lay photos are flowers, candles, books, magazines, cameras, and polaroids (to make it personal).
Here are some of my favorite items for flat lay images which you can shop below.

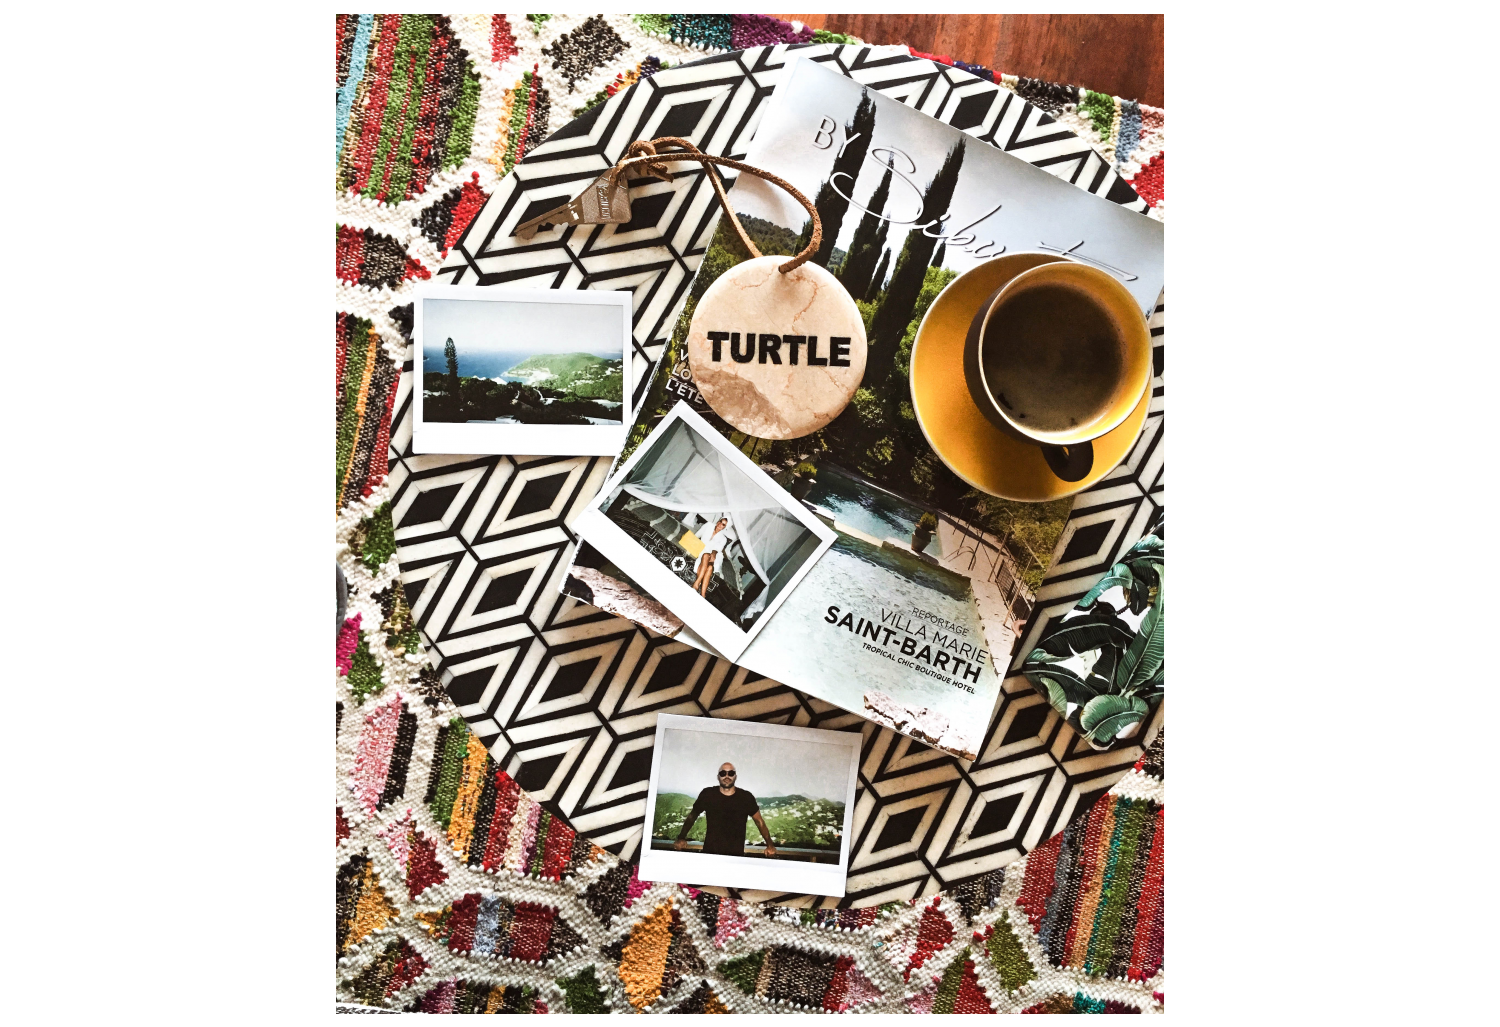
I took this flat lay photo in Saint-Barth at the hotel. Pictured are our polaroids, Saint-Barth magazine, our marble room key, A.M. Club phone case, and coffee.
3. Composition is crucial.
The last thing you want is a flat lay image looking like you just dumped chaos out of your purse. Leave enough space in between items to avoid a cluttered image. You want the image to look balanced, cohesive, and clean. Also make sure there’s no dust or streaks on the surface you are shooting on. Lastly, always remember that negative space can be positive. Negative space will allow viewers to focus more on the product without feeling overwhelmed.
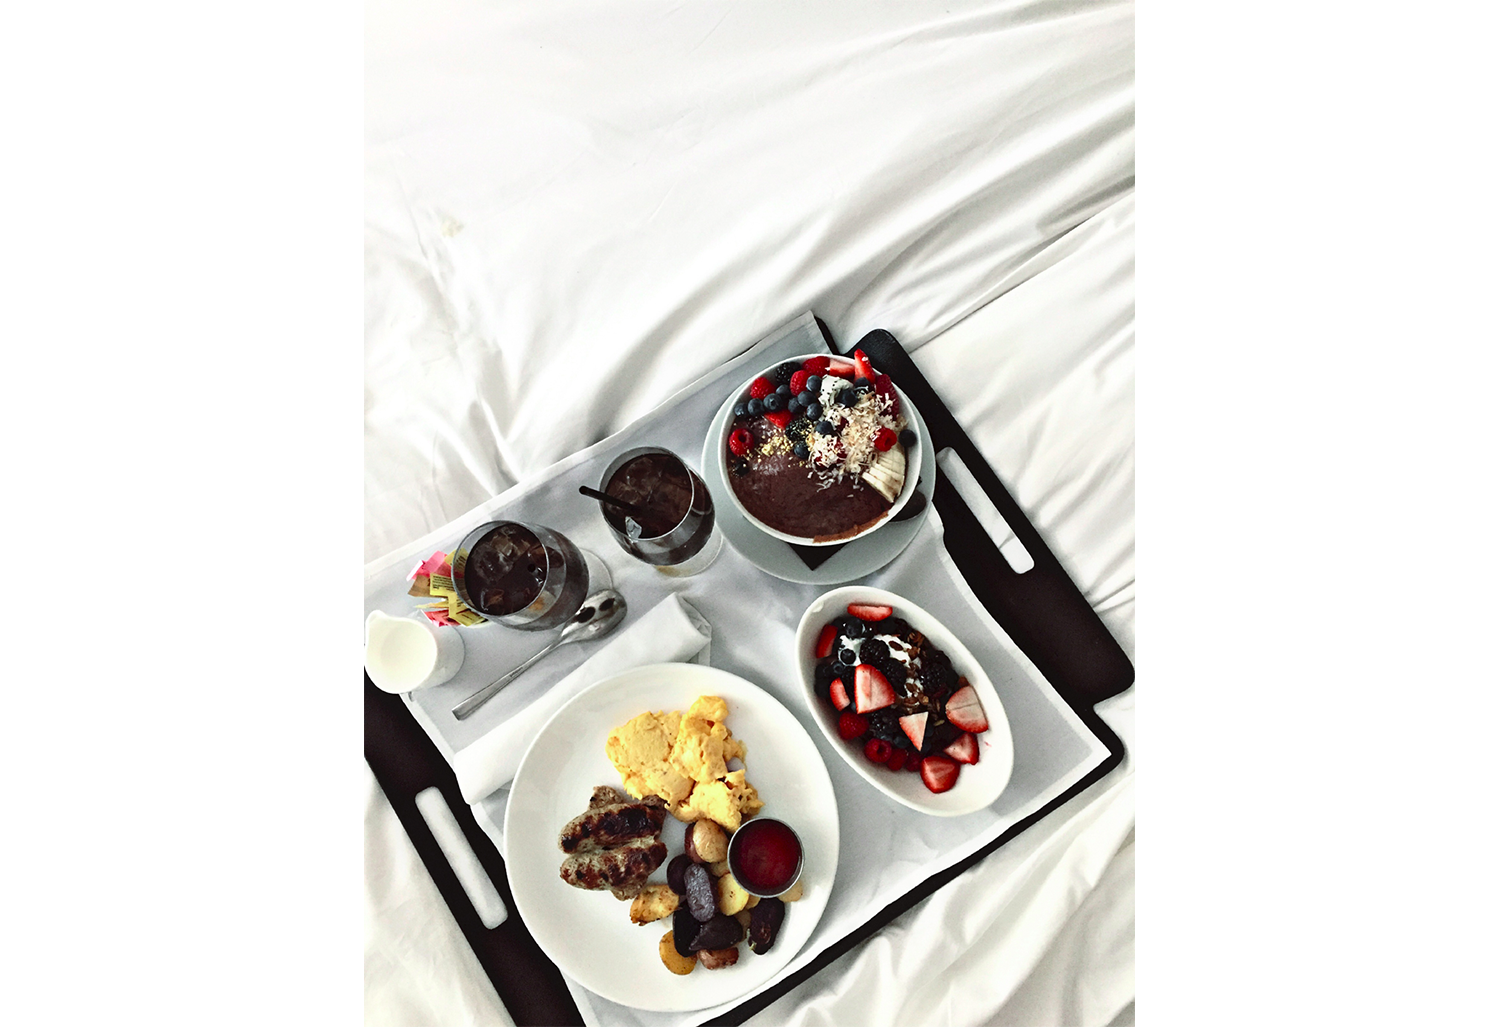
This is a simple bird’s eye view flat lay that I took of our room service in Palm Springs. The desert really has such consistent great lighting, and who doesn’t love to remember those amazing breakfast in bed moments. The hardest part is waiting to devour your acai bowl, so make sure to take this one fast as possible before anyone gets hangry/hurt.
4. Learn your angles.
Bird’s eye view is the most popular angle for flat lays, but don’t be afraid to mix it up and experiment! Just frame the image in a way that captures your objects clearly and express yourself.
 Another set of photos from Palm Springs. Another breakfast shot.
5. How you edit the photos is half the battle.
My favorite free editing apps are PicsArt, VSCO, and Snapseed. If you are editing on your computer, then I suggest Adobe Lightroom. Make sure to up the brightness, increase contrast, adjust highlights and shadows, and adjust colors depending on your aesthetic.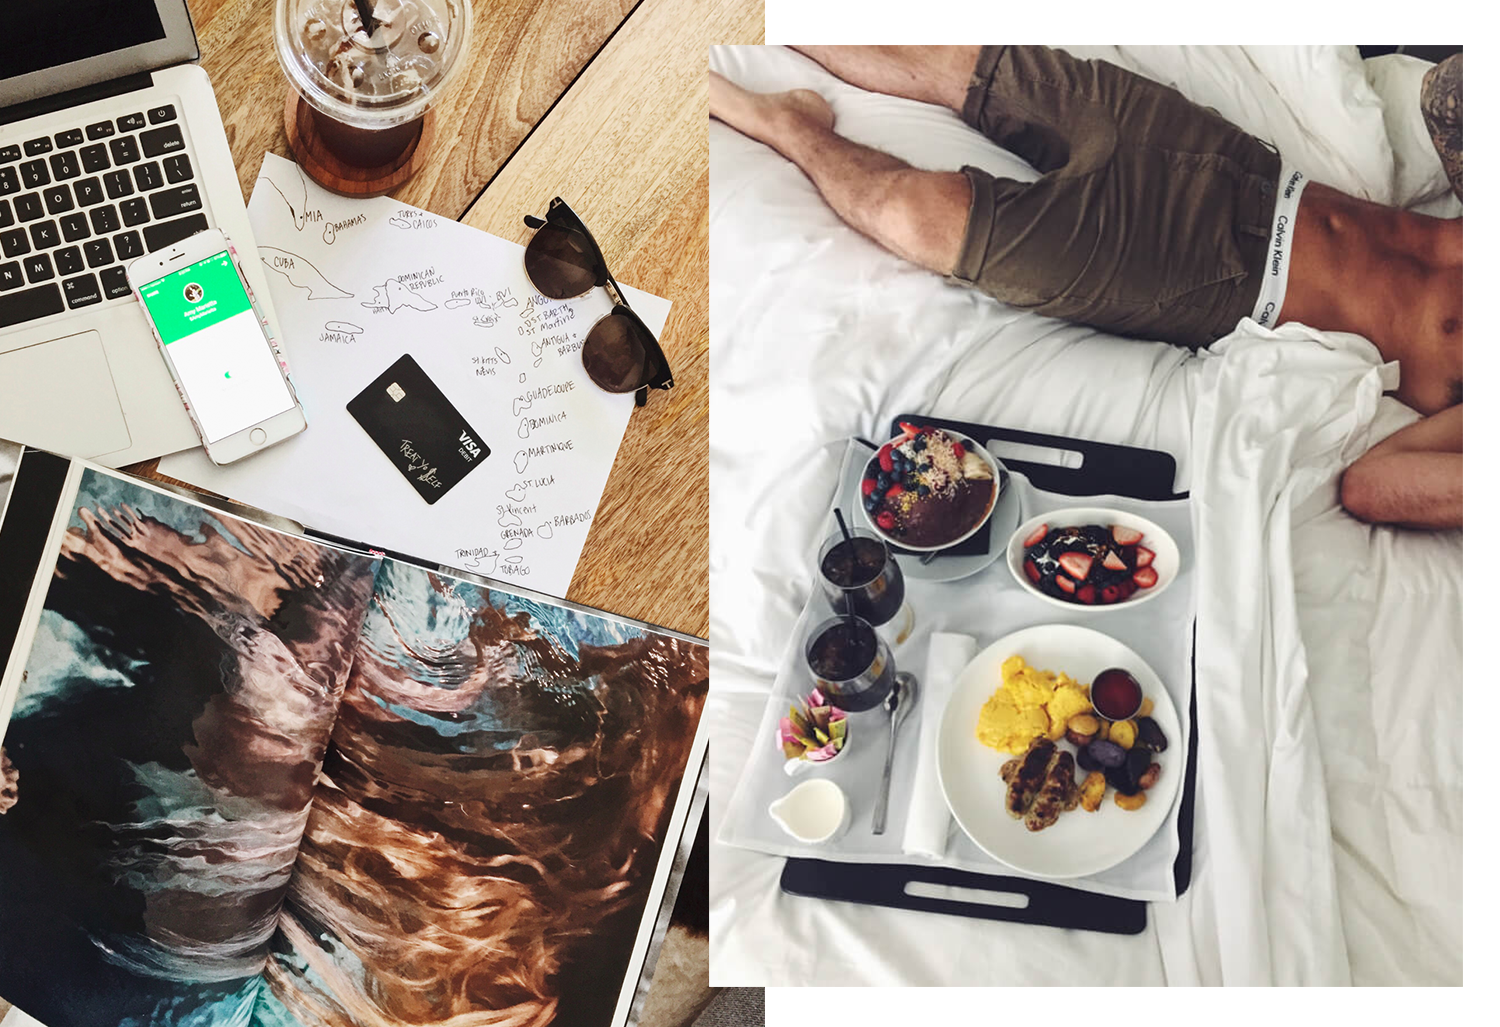
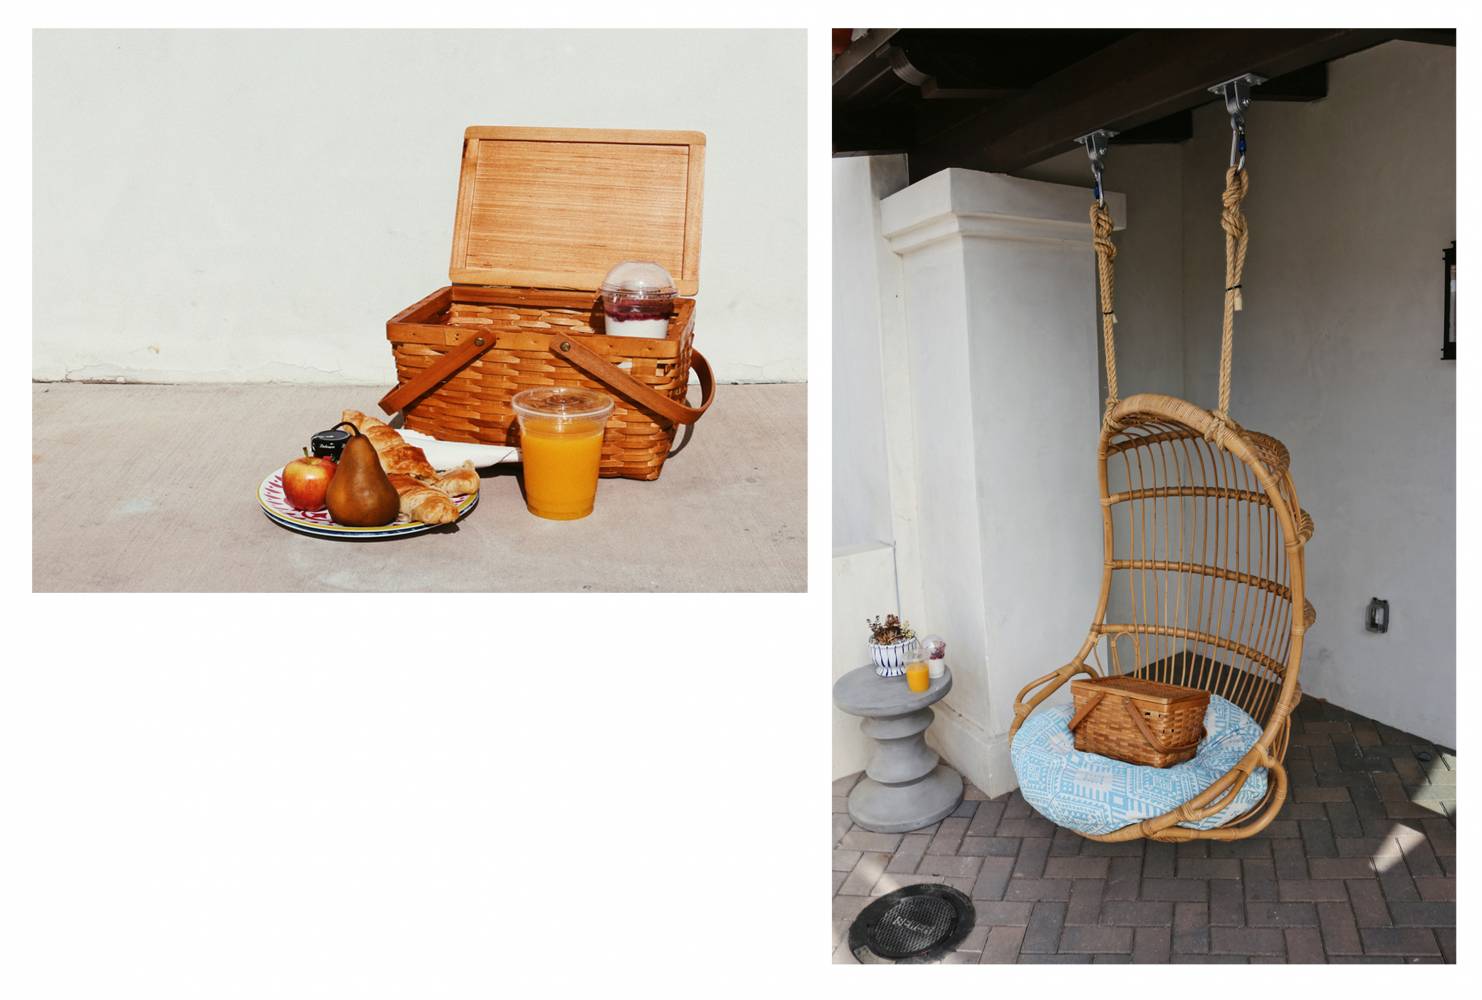
For the photo on the left, I was working with Square Cash to show the new Ca$h Card and how I’m using it while planning my travels. The photo on the right is another breakfast in bed shot. I used VSCO to edit these – heavy grain, fade, and sharpen.
Extra life hack that changed the game for me
Sometimes objects like to roll around and not stay where I want them. My life hack for this is to either wedge a toothpick under the items, or use a tiny bit of clay under the item. Honestly you can use gum too if you don’t have any clay laying around the house. Just make sure to clean the item off right after to avoid a sticky sitch.
Pin for later: